
Woohoo you have made it to the end of the week! If you have been following our accessibility bite-size blog series you should now be fully equipped to follow the C.H.I.L.L best practice guide when building your accessible resources. Here’s where you can find all this week’s bite-size blogs. But how do you make sure everything is right and that you haven’t missed anything? What you need is the Accessibility Checker built into all Office 365 apps.
Found under the Review or View Ribbon in most office 365 apps Check Accessibility scans your document to ensure that its content is accessible. Although the accessibility checker can’t check if you have applied your heading styles it will check for missing alt text, contrast and colour issues and more. Once scanned the checker will provide a list of errors, warnings, tips and information on what you need to fix and why. Fixing any issues will ensure your resource is more inclusive. Head over to this site for a full list of the Rules for the Accessibility Checker.
Reading Order
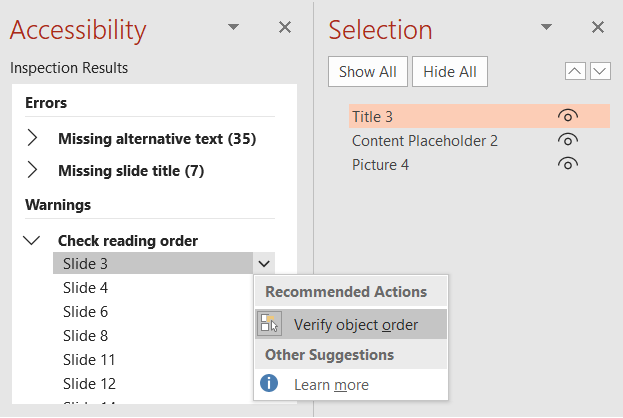
The accessibility checker in PowerPoint has an additional feature that checks the reading order of your slide. so that assistive technologies will read through the slide the same way as you do when presenting It; for example: starting with the heading then the image followed by the content.
Watch the video below for a run through of how to Check document accessibility in Word:
If you have any questions contact the Digital Learning Team at: digitallearning@loucoll.ac.uk and don’t forget to come back next week in the continuation of the Accessibility bite size blog series, where we will take a look at some of the best accessibility features for students and staff alike.