Microsoft has recently launched its Live Captions tool in OneNote. Utilising this new OneNote feature allows users to see close captions in over 100 different languages in real-time.
This feature is especially useful for students with additional hearing needs, where English isn’t their native language or those who will find it a useful tool to help them focus by reading what is said during a lesson.
Another feature of this new tool is that the captions are stored as a transcript within the OneNote file to use as additional notes and a reflection on the lesson.
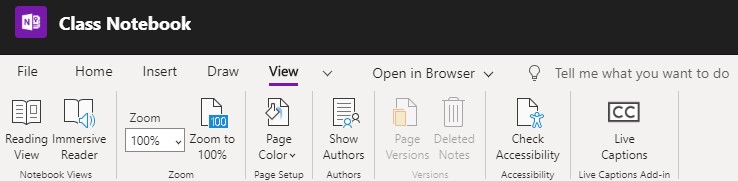
Available in OneNote for Windows 10, Class Notebook in Teams, and OneNote for the web, it is easily accessible and found under the View tab.
To find out how it all works watch the following video or see the breakdown below:
Live Captions ‘How To’ breakdown

To make use of the Live Captions feature in OneNote you as the teacher will first need to download Microsoft Translate to your device. This is what will be used as the microphone that captures what you are saying then transcribes it for those that have joined the Live Captions.
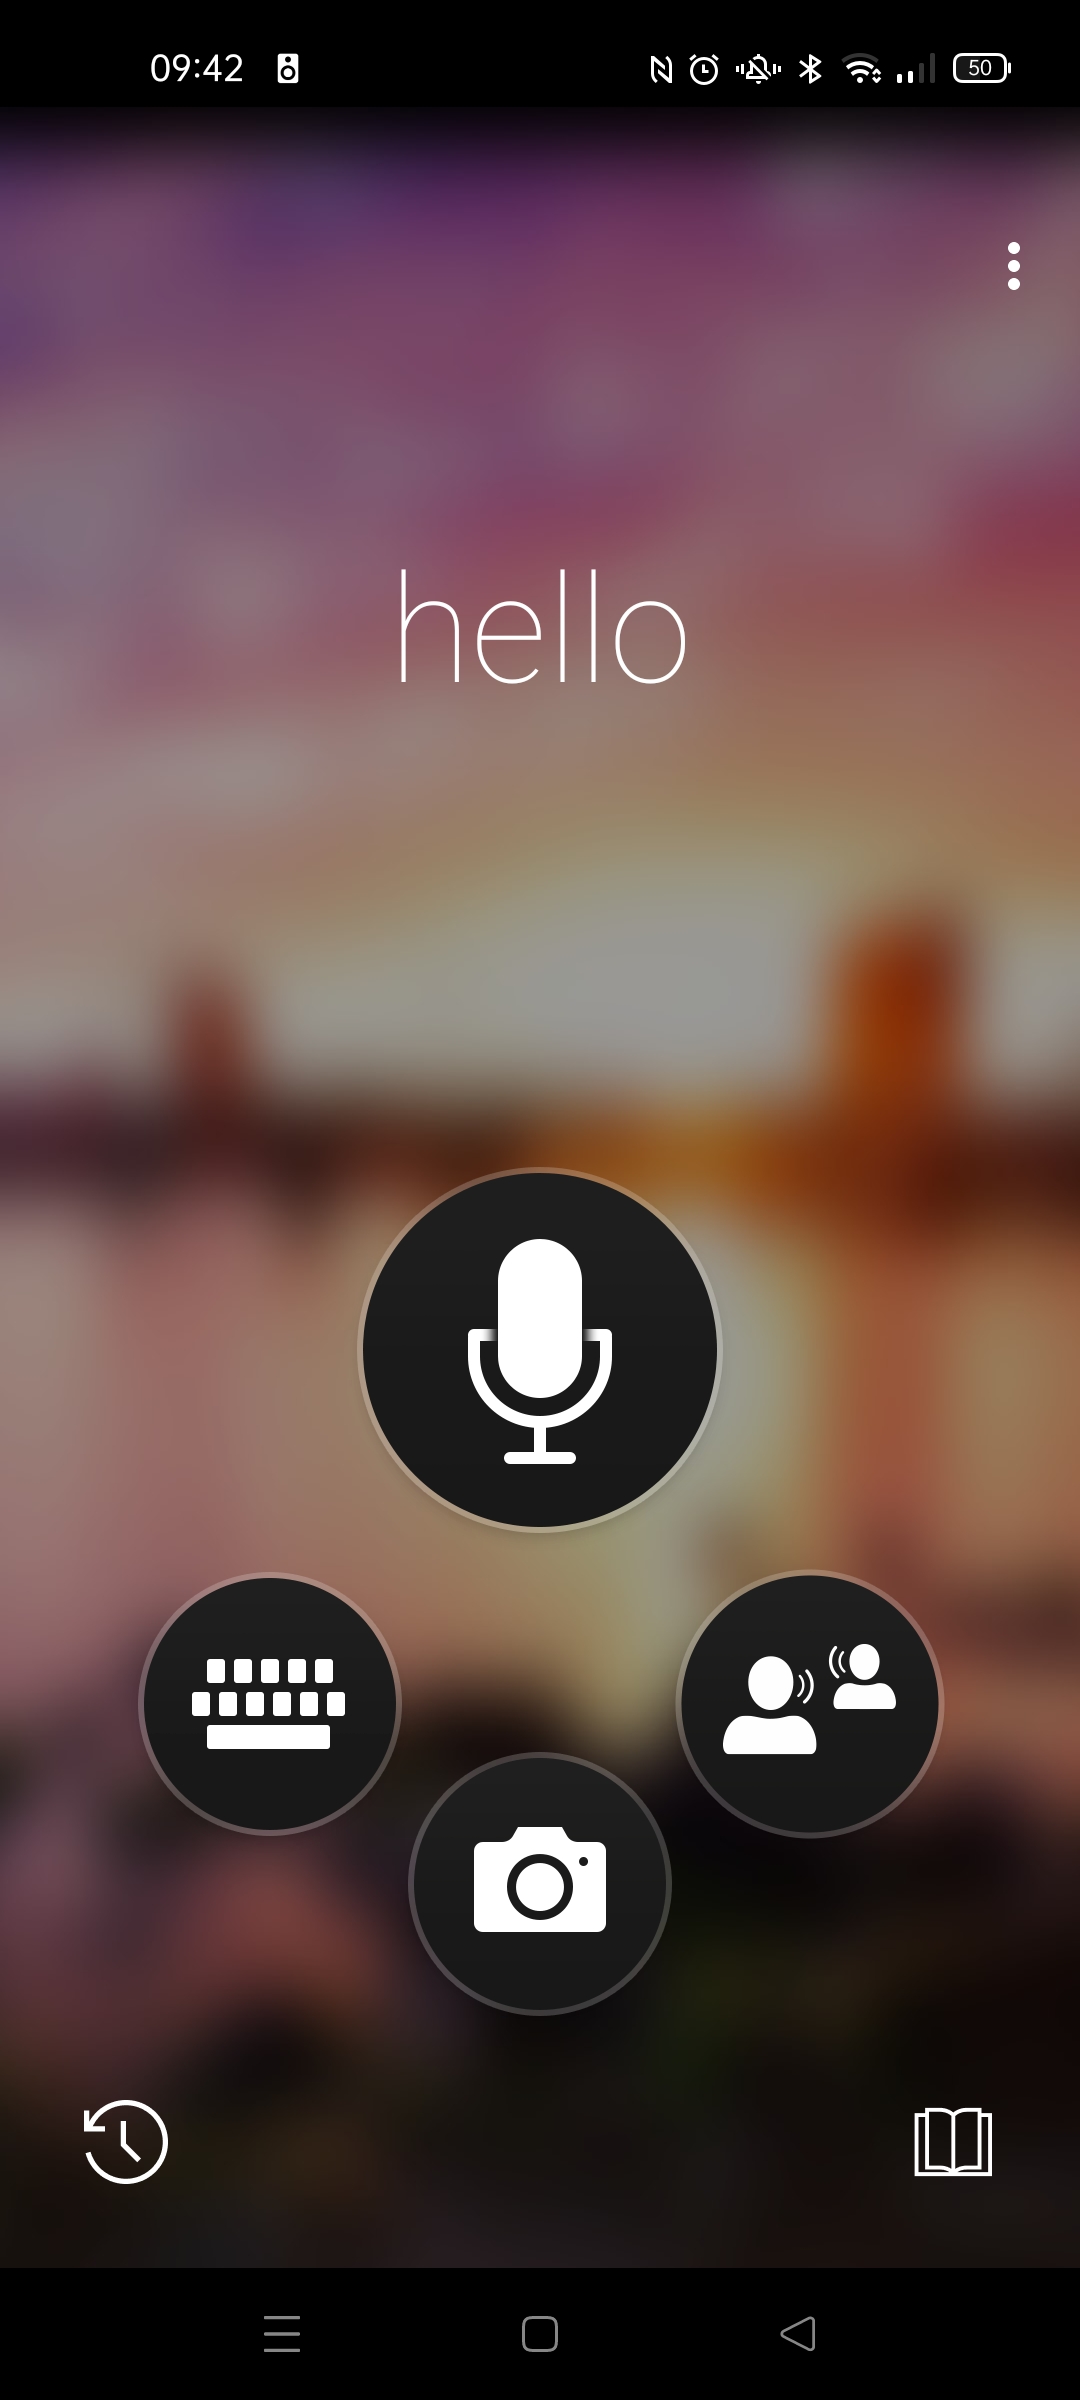
When you open the Microsoft Translate app you will be greeted with the welcome screen saying hello and some options.
- Select the button to the right with two people talking (Figure 1)
- Select the ‘Start’ button to start a new conversation (Figure 2)
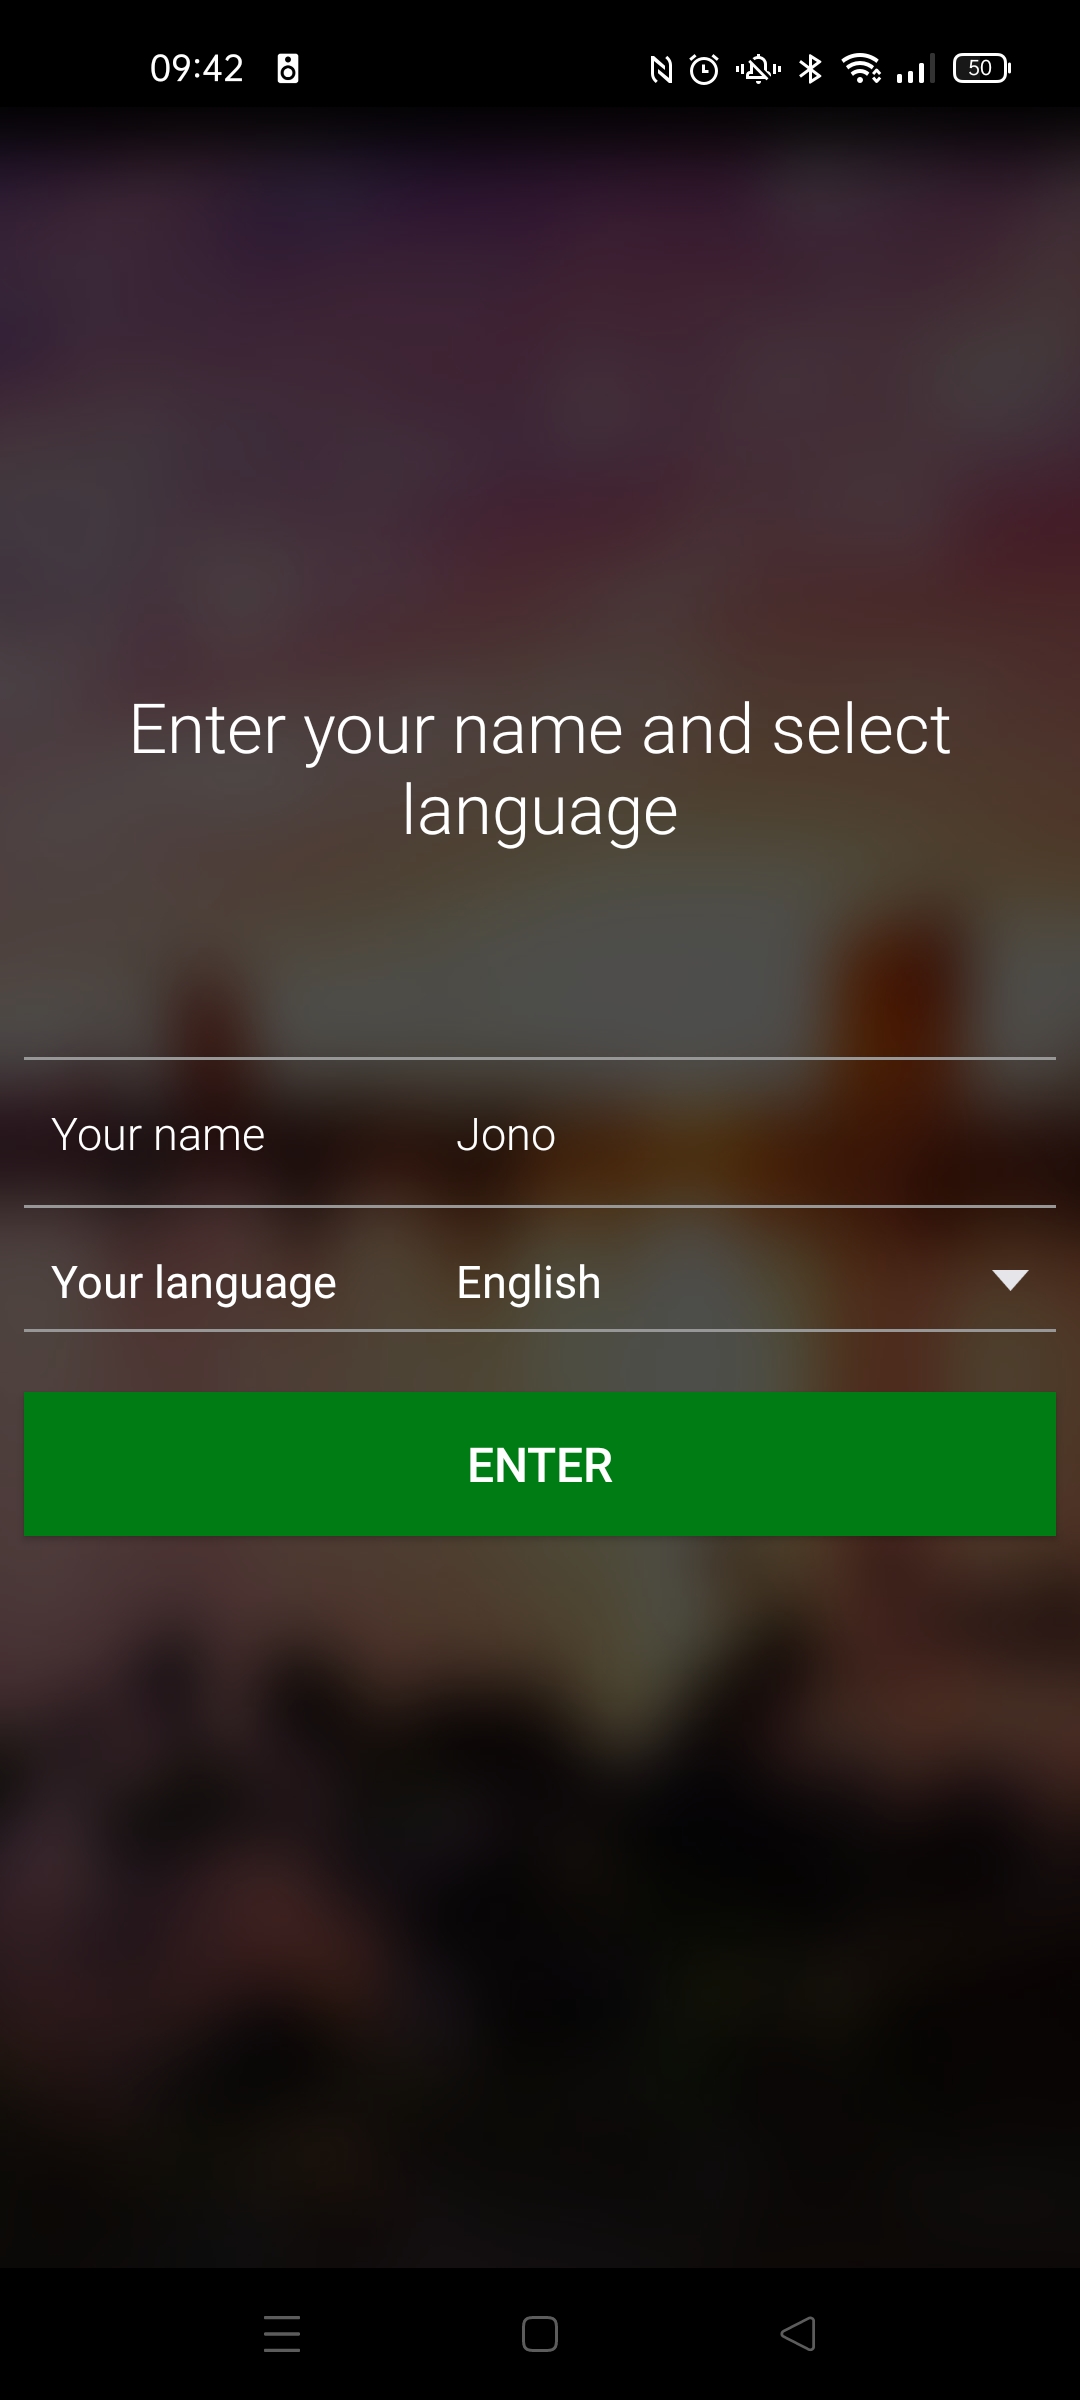
- Add your name and the language you are speaking then select the ‘Enter’ button (Figure 3)

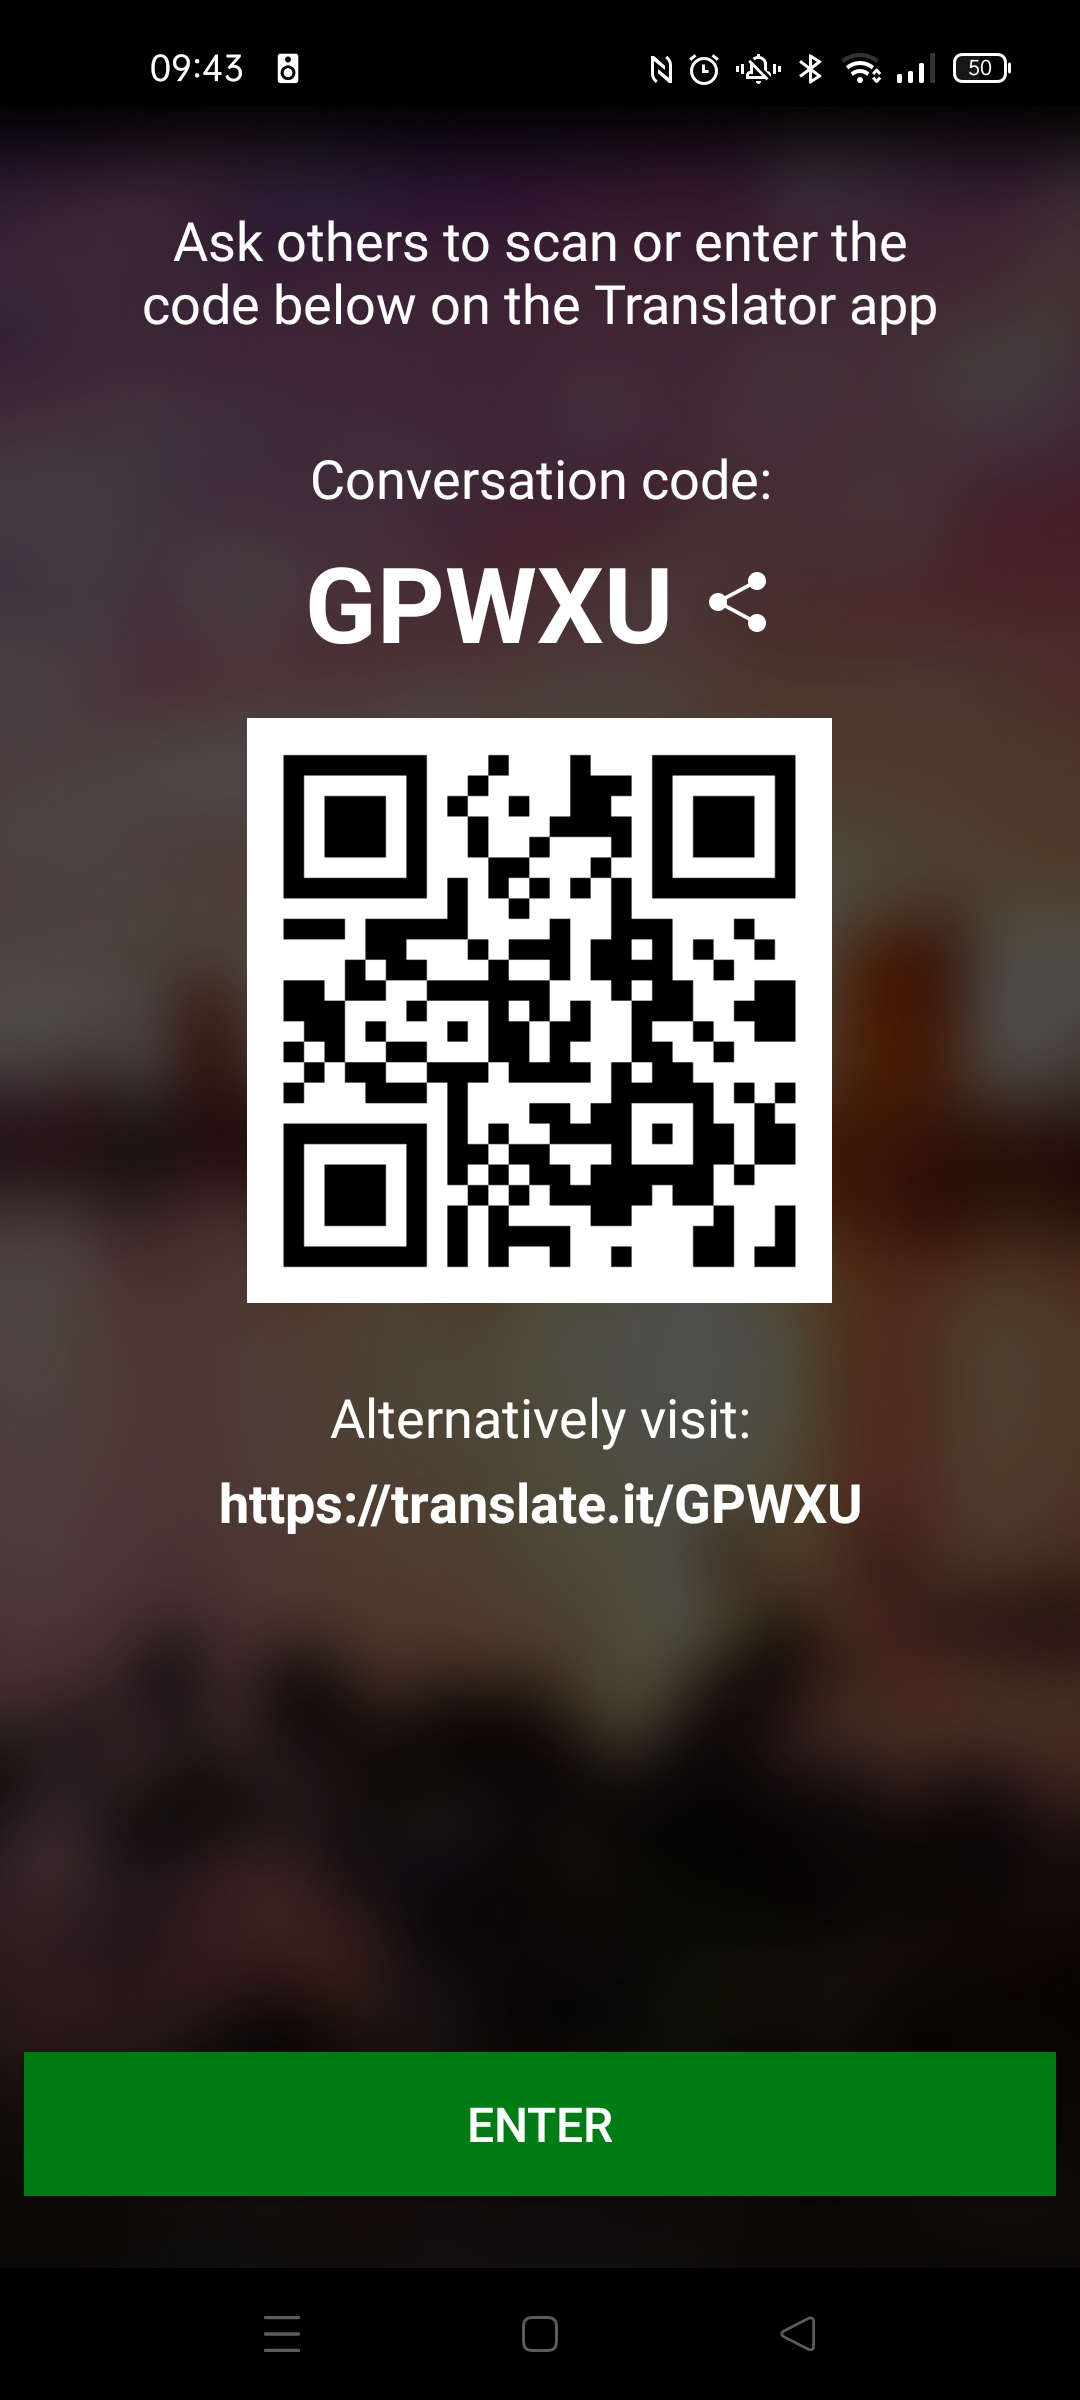
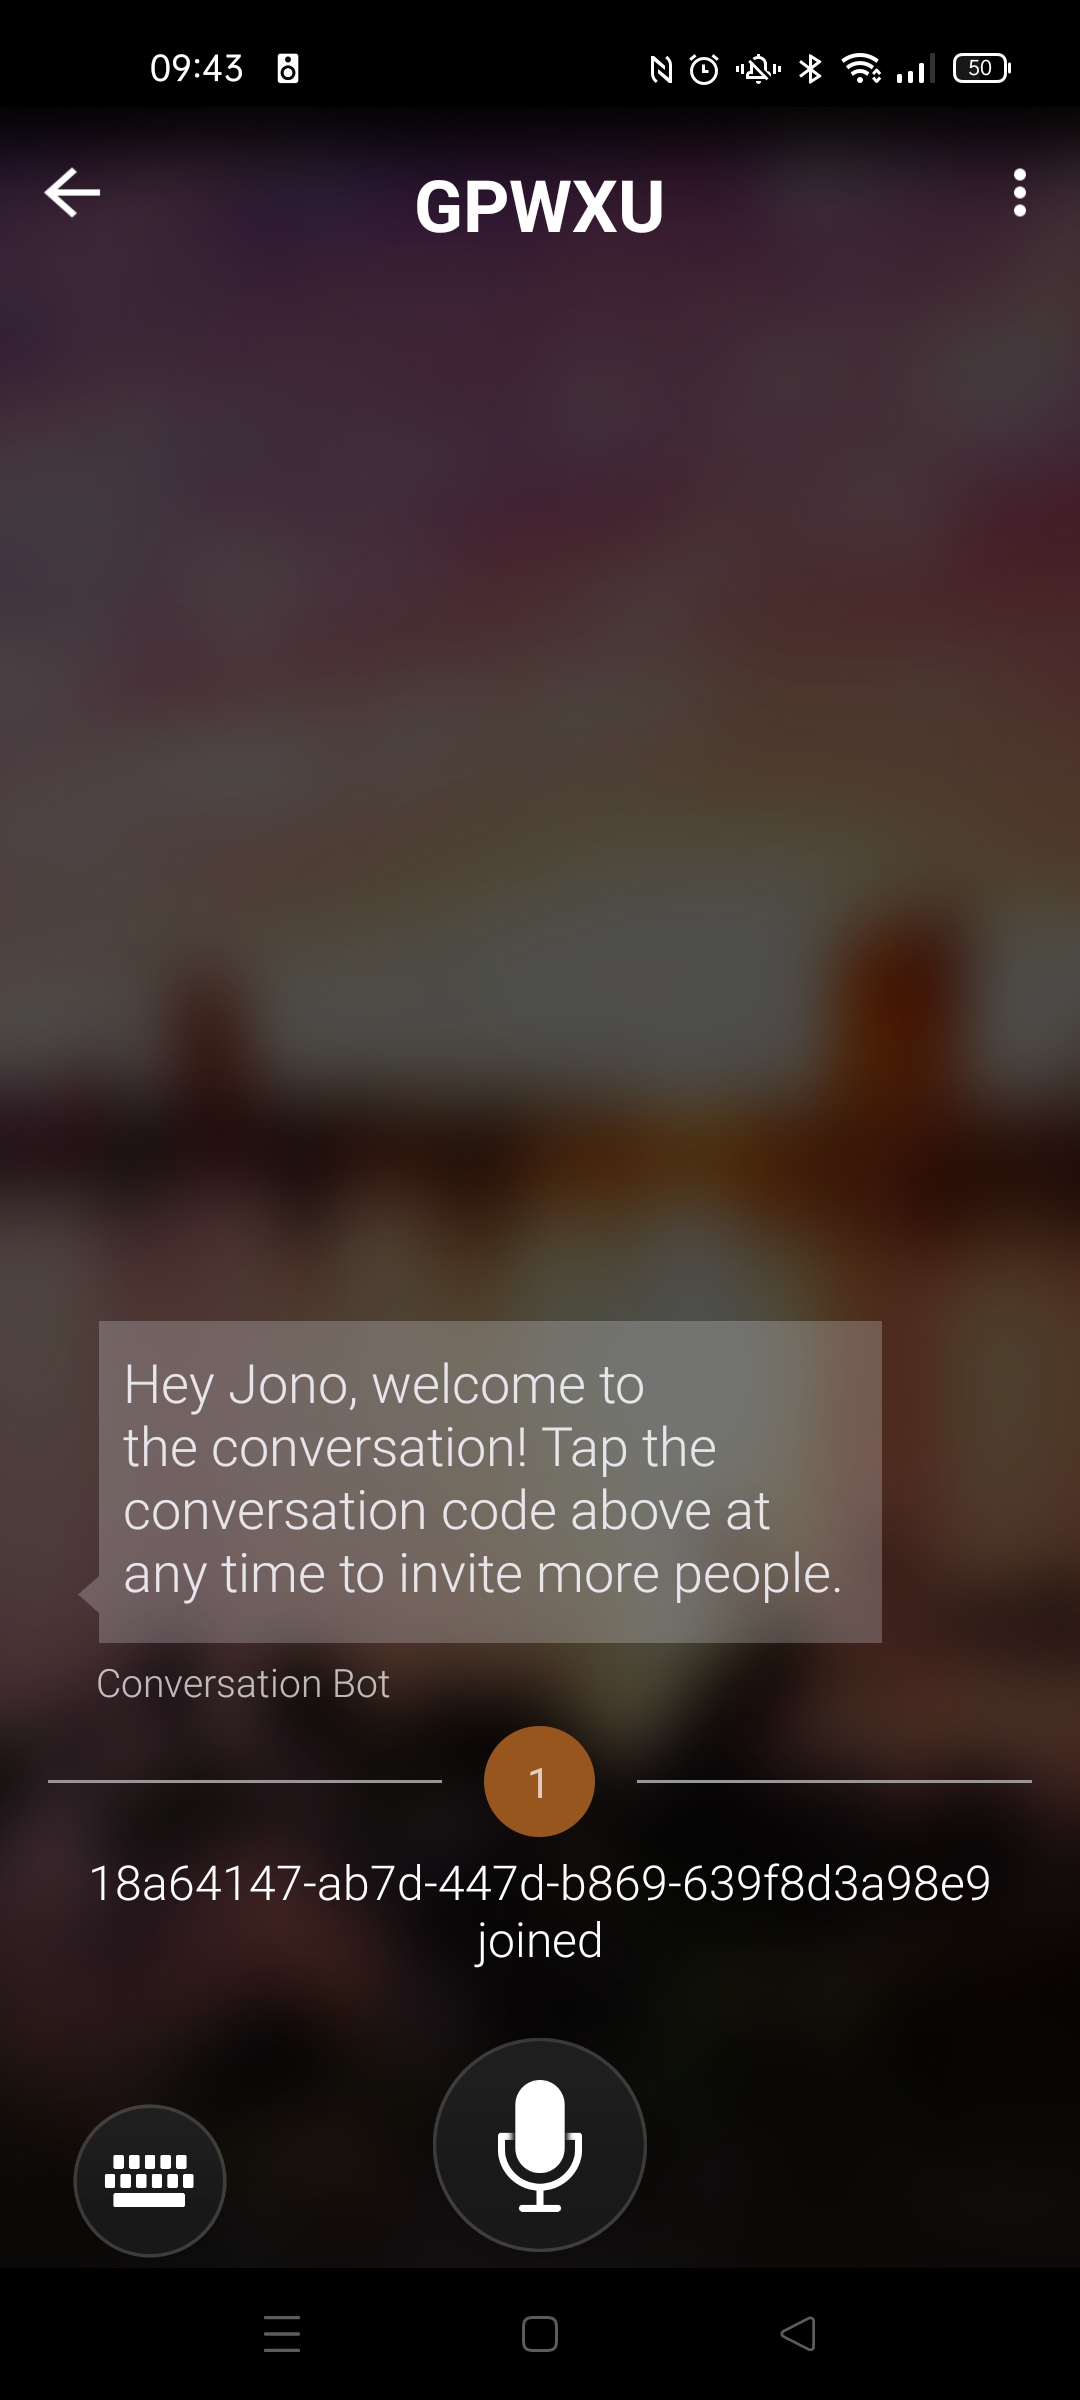
- Share the conversation code on your device with the student who can use the code to join via the Live Captions in OneNote (Figure 4)
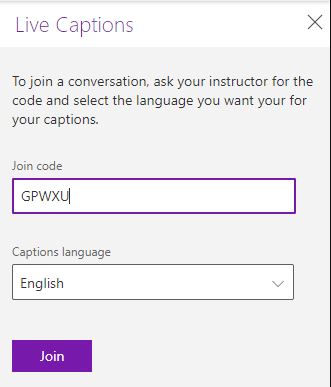
- In OneNote once the students select the ‘Live Captions’ button within the ‘View’ tab the Live Captions window will open where the students can add the Join Code and select the language they would like them to be in (Figure 7)
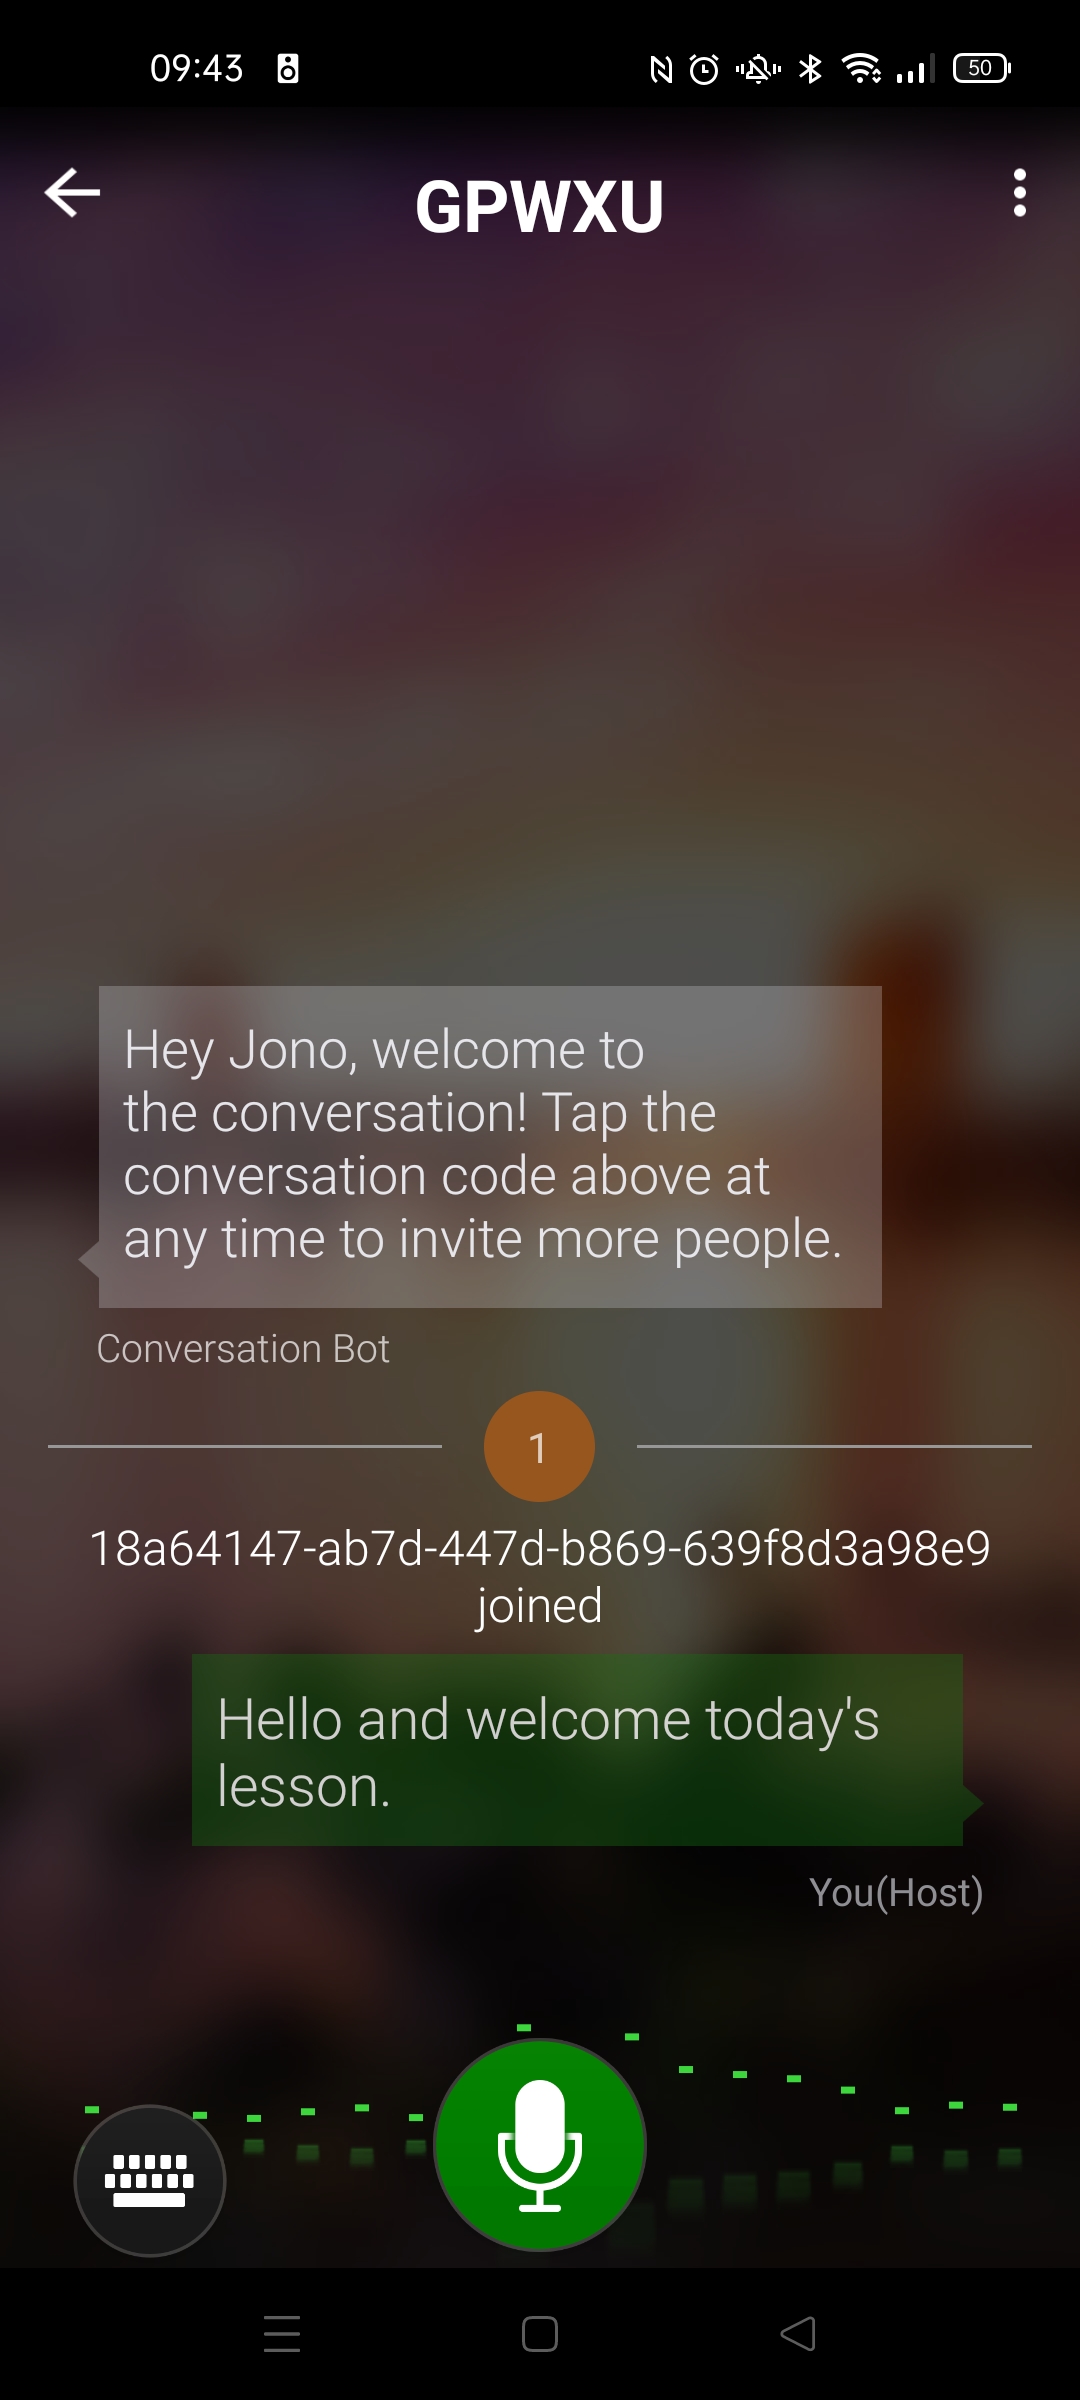
- Once students have joined you can select the microphone or the keyboard to start transcription (Figure 5)
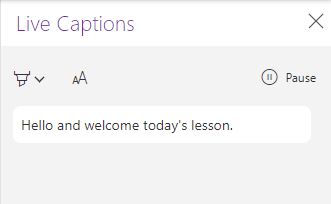
- With the microphone selected the app starts to transcribe what is being said by the teacher which will show up on the device (Figure 6) and in Live Captions for the student to see (Figure 8)
Some additional features
Students can pause the captions allowing them to catch up with reading what was just said or highlight parts using the highlighter available. Once they start the captions again it will populate with everything that has continued to be said and bring that up so they don’t miss anything with it being paused.
Once the lesson is complete and the teacher stops the transcription a copy of the transcript is automatically saved into a ‘Transcripts’ section of their notebook to provide students an easy way to capture lesson delivery and review it as necessary.
Further Help, Support, and Guidance
As always, if you need any additional support please do not hesitate to contact the Digital Learning Team at digitallearning@loucoll.ac.uk.